Below are the steps for the installation of AstroGeoFit for the AstroGeoFit Workshop. If possible, participants can make these installations before the stat of the workshop. At present, installation for a Mac is displayed. Installation for a Window machine will follow later.
Macbook install. Everything is in the documentation, and you can refer to it whenever you need additional information, but to make it more easy, we have described the essential steps below.
For a Macbook user, follow the folling steps
- Install Miniconda. This is the Python environment. In the Miniconda webpage for installation, you have the choice of graphic install or terminal install. Use the one you feel the most comfortable with. The result will be the same. Choose just one.
- Download the AstroGeoFit Package from the AstroGeo.eu website Here. Unzip the package (on a Mac, just double click on the package). You will see a astrogeofit-1.0 folder.
- From now, you need to use the terminal tool of the Mac. Open the terminal, go to the astrogeofit-1.0 folder.
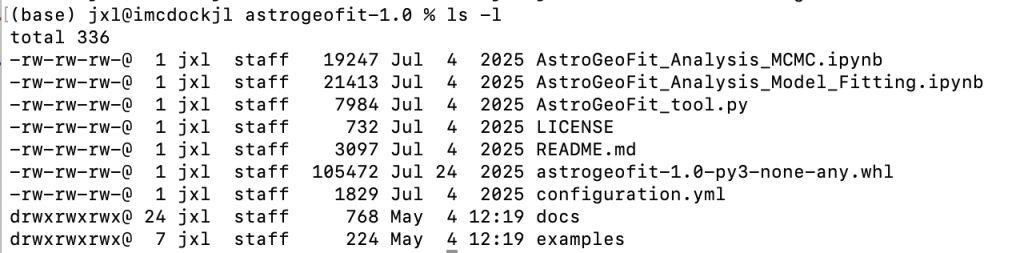
- The most simple way is to type “cd” (without the “) on the terminal prompt, and slide the astrogeofit-1.0 folder in the terminal window. When you drag a file/folder from a Mac window to the terminal window, it is immediately translated into the path of this file/folder. then type “ls -l” . It should look like that
Then type this command in the terminal
pip install astrogeofit-1.0-py3-none-any.whl
Run your first example. In order to limit the runtime that can be large on a full scale job, we will limit this first example to the genetic algorithm fitting part, and will not run the MCMC part. We use the configuration files stored in the “example” folder. The command is then
python AstroGeoFit_tool.py -fit -p ./examples/synthetic_data/configuration_file/configuration_synthetic_data.yml -r
The output should look like
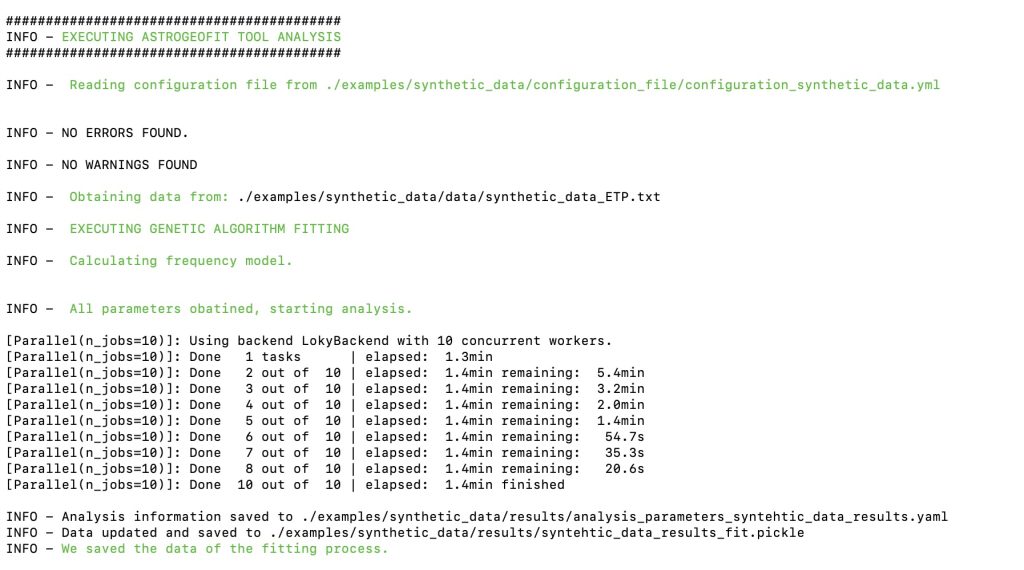
Congratulation, you have properly installed AstroGeoFit ! You have run your first AstroGeoFit job and are ready for the AstroGeoFit workshop !